I remember the exact moment I realized Ghost of Tsushima’s first act was no longer about survival. By the time The Iron Hook began, I had already secured Lady Masako, Sensei Ishikawa, and the Straw Hat Ronin for the assault on Castle Kaneda, reclaimed Komatsu Forge, and earned Taka’s promise to forge a climbing tool. The mission opens with that promise coming true, but it also plants the seeds of a much more personal conflict between Jin Sakai and Ryuzo.
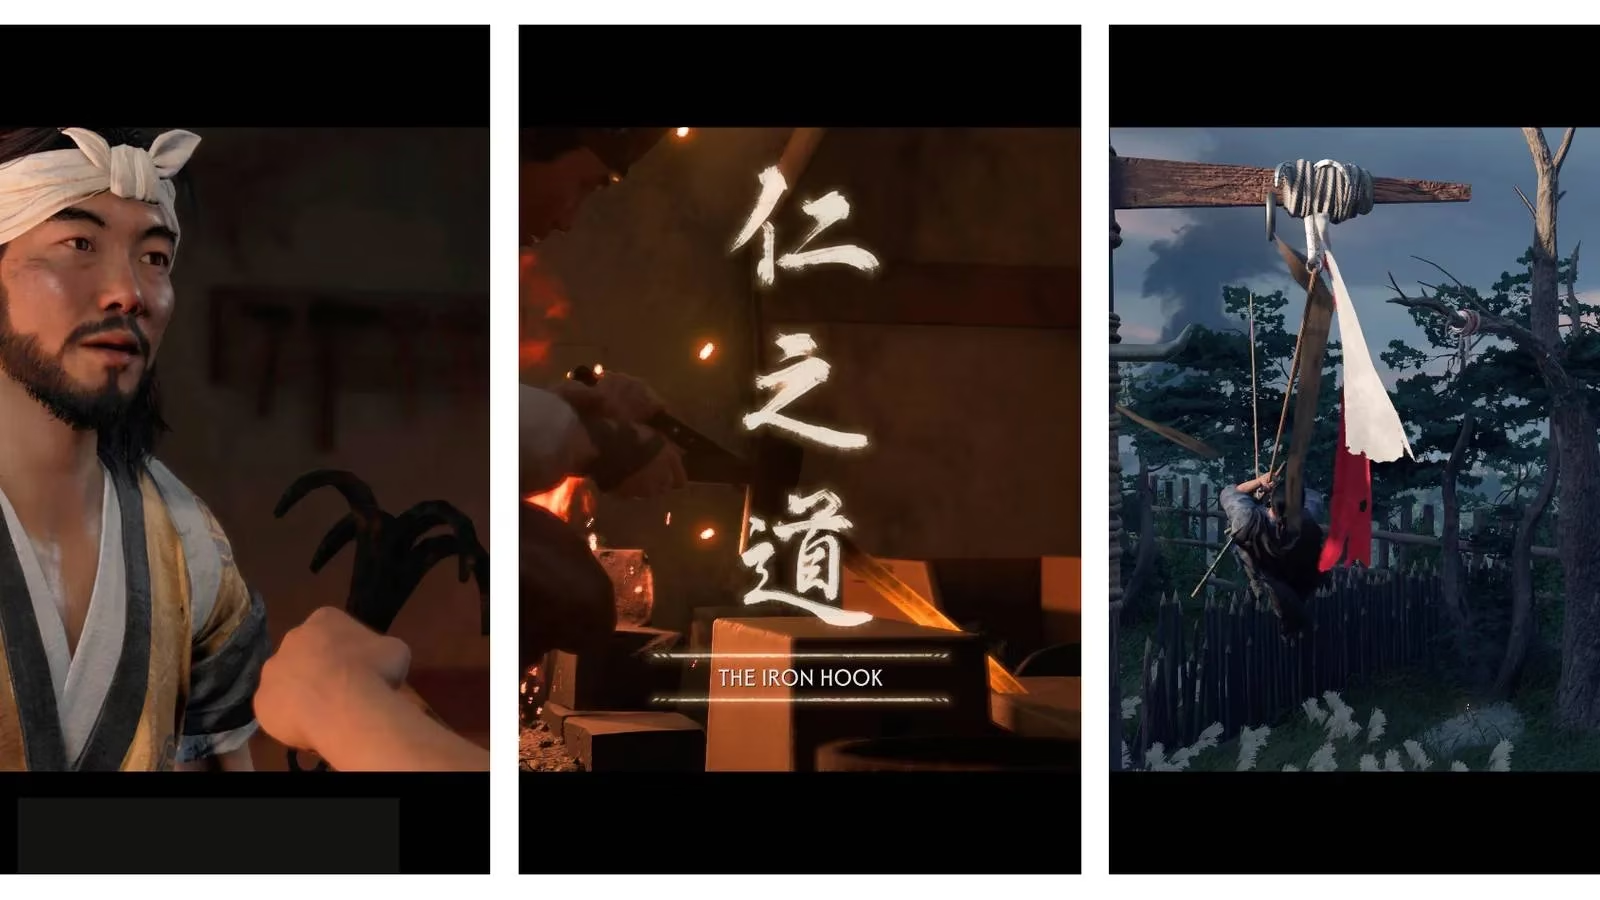
Here is my quick mission card for this section of Act 1:
| Element | Detail |
|---|---|
| 🏯 Quest | The Iron Hook |
| 📍 Location | Komatsu Forge / Fort Yatate |
| 🪝 Main Reward | Grappling Hook, Straw Hat Ronin support |
| ⚔️ Recommended Style | Stealth, ghost tools, or mixed melee |
Meeting Yuna and Taka at Komatsu Forge
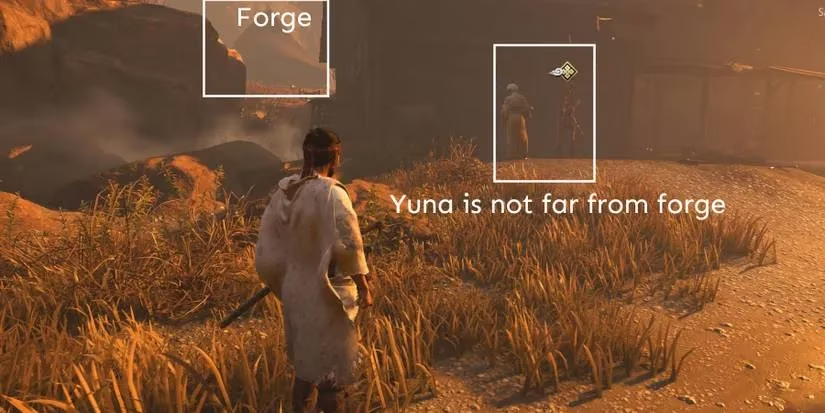
Inside Komatsu Forge, I found Yuna near the forge itself. She told me that the townspeople were already calling Jin “the Ghost,” a name Jin disliked even though Yuna believed it might prove useful. I followed her toward Taka, listening to Jin explain the allies he had recruited. It was impossible to miss Yuna’s hesitation: she did not want to expose Taka to more danger after the rescue, even if she was grateful for everything Jin had done.
At the forge, Taka handed over the grappling hook, and while I was examining the tool, Ryuzo’s voice echoed from outside. I went to speak with him, and the mission’s emotional weight shifted. Ryuzo revealed that his best men had been captured by Mongol soldiers, and his warning was blunt: if we did not get them back, Lord Shimura would not escape captivity either. I accepted the new objective, knowing I had no real choice but to help my old friend.
Riding Toward Fort Yatate
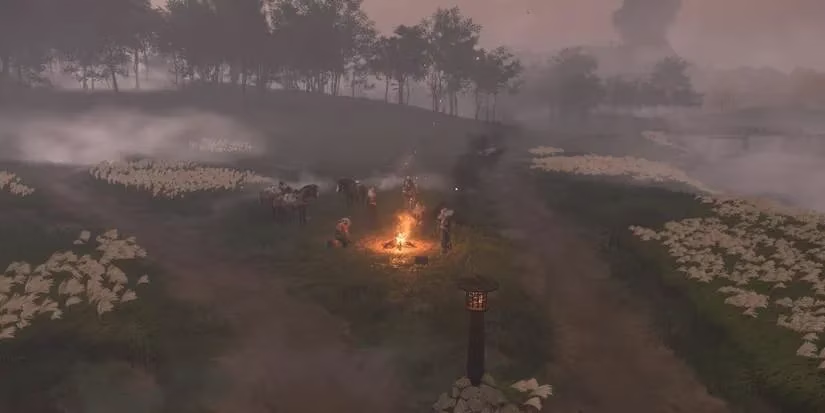
Jin and Ryuzo traveled with the remaining Straw Hat Ronin toward Fort Yatate. On the ride, the game cut forward to place us much closer to the stronghold. From the outside, I could see that attacking through the front gate was suicide. Instead, I used the newly acquired grappling hook to scale the cliffside and enter the fortress clandestinely.
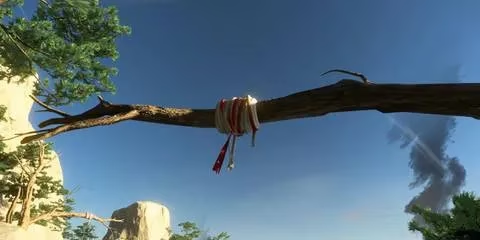
The climb immediately showed me how Sucker Punch intended the grappling hook to reshape exploration. The path was marked by branches or stumps wrapped with red and white rope. I jumped and pressed R2 to latch onto those anchor points, swinging from ledge to ledge. Whenever there were two points in a row, I looked for the R2 symbol before leaping. Larger climbing walls had stumps jutting from the rock face, so I used them as footholds and grappled upward. The route was forgiving and almost impossible to fail, but it still felt cinematic.
Inside Fort Yatate
Once I crested the cliff, Fort Yatate lay before me. I could hear the Straw Hat prisoners singing somewhere inside, which gave me a clear direction to follow. The fort was guarded by archers in towers, so I used focused hearing to scan the ground and mark enemy positions. My approach could lean into pure Ghost stealth or open combat. I preferred mixing both: I used the grappling hook on the tall wooden poles near the towers, picked off isolated guards quietly, and released chaos when necessary.
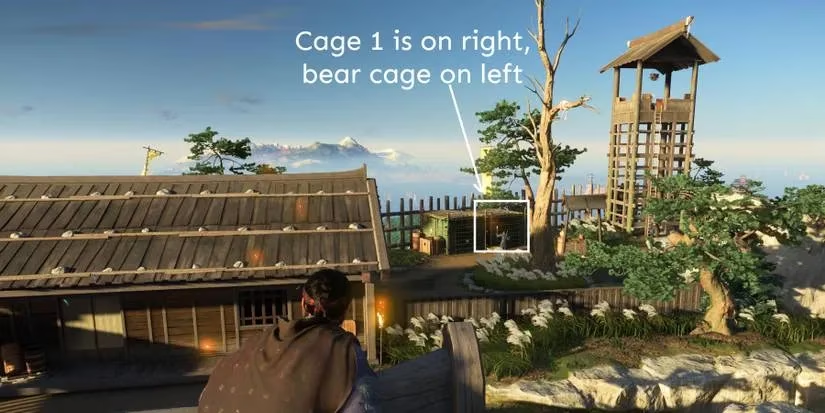
The first two Straw Hats were held in a bamboo cage near the guard tower at the far end. Before releasing them, I noticed a second cage containing a bear. I shot the lock on that cage, and the bear charged into the Mongols, creating a perfect distraction. After freeing the first two ronin, I moved past the tower, down rocky ledges, and climbed a large rock to spot two more bamboo cages. I cleared the Mongols nearby and released the final four Straw Hats.
Here are a few field notes I found useful during this section:
-
🐻 Use the bear cage as an early distraction to soften up the guards.
-
🏹 Prioritize archers in the towers before they ruin a stealth approach.
-
👂 Use focused hearing constantly to mark enemy positions through walls and terrain.
-
🌀 Save Ghost weapons for the larger group near the lower gate.
Clearing the Remaining Mongols
After the initial cages, most of the remaining Mongols had gathered near the lower gate by my entry point. This group included a Mongol leader and several different enemy types, so I relied on powerful Ghost weapons to avoid being overwhelmed. Once the area was clear, I took time to loot upgrade materials and grabbed the Mongol Artifact hanging from a tent, which added useful context for the game’s collectible story. Then I moved to the lower gate and signaled Ryuzo.
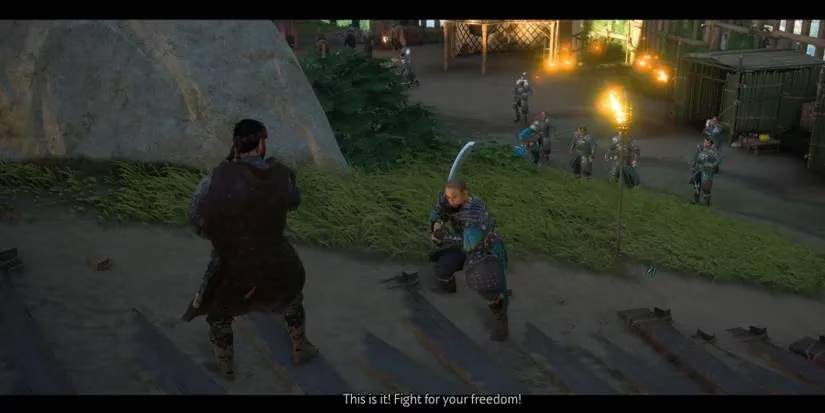
When the gate opened, I responded to the standoff prompt quickly and cut down the first attacker. The inner courtyard held a large group of Mongols, but with the Straw Hats fighting alongside me, the battle felt manageable. Afterward, Jin and Ryuzo had a quiet, uneasy conversation. Ryuzo was content that his men were alive and fed; Jin found it strange that the Mongols had not beaten or killed them. That tension is exactly why The Iron Hook works so well: it gives you the grappling hook and a major momentum boost, but it also sows the distrust that defines Ryuzo’s rivalry with Jin later in the story.
As of 2026, Ghost of Tsushima Director’s Cut is available on PS5 and PC, while the base game remains available on PS4 and PS5. Replaying The Iron Hook on modern hardware still impresses me with its blend of narrative, stealth, and vertical exploration.